Plank Flooring Layout Calculator 2027: Cartons and Waste
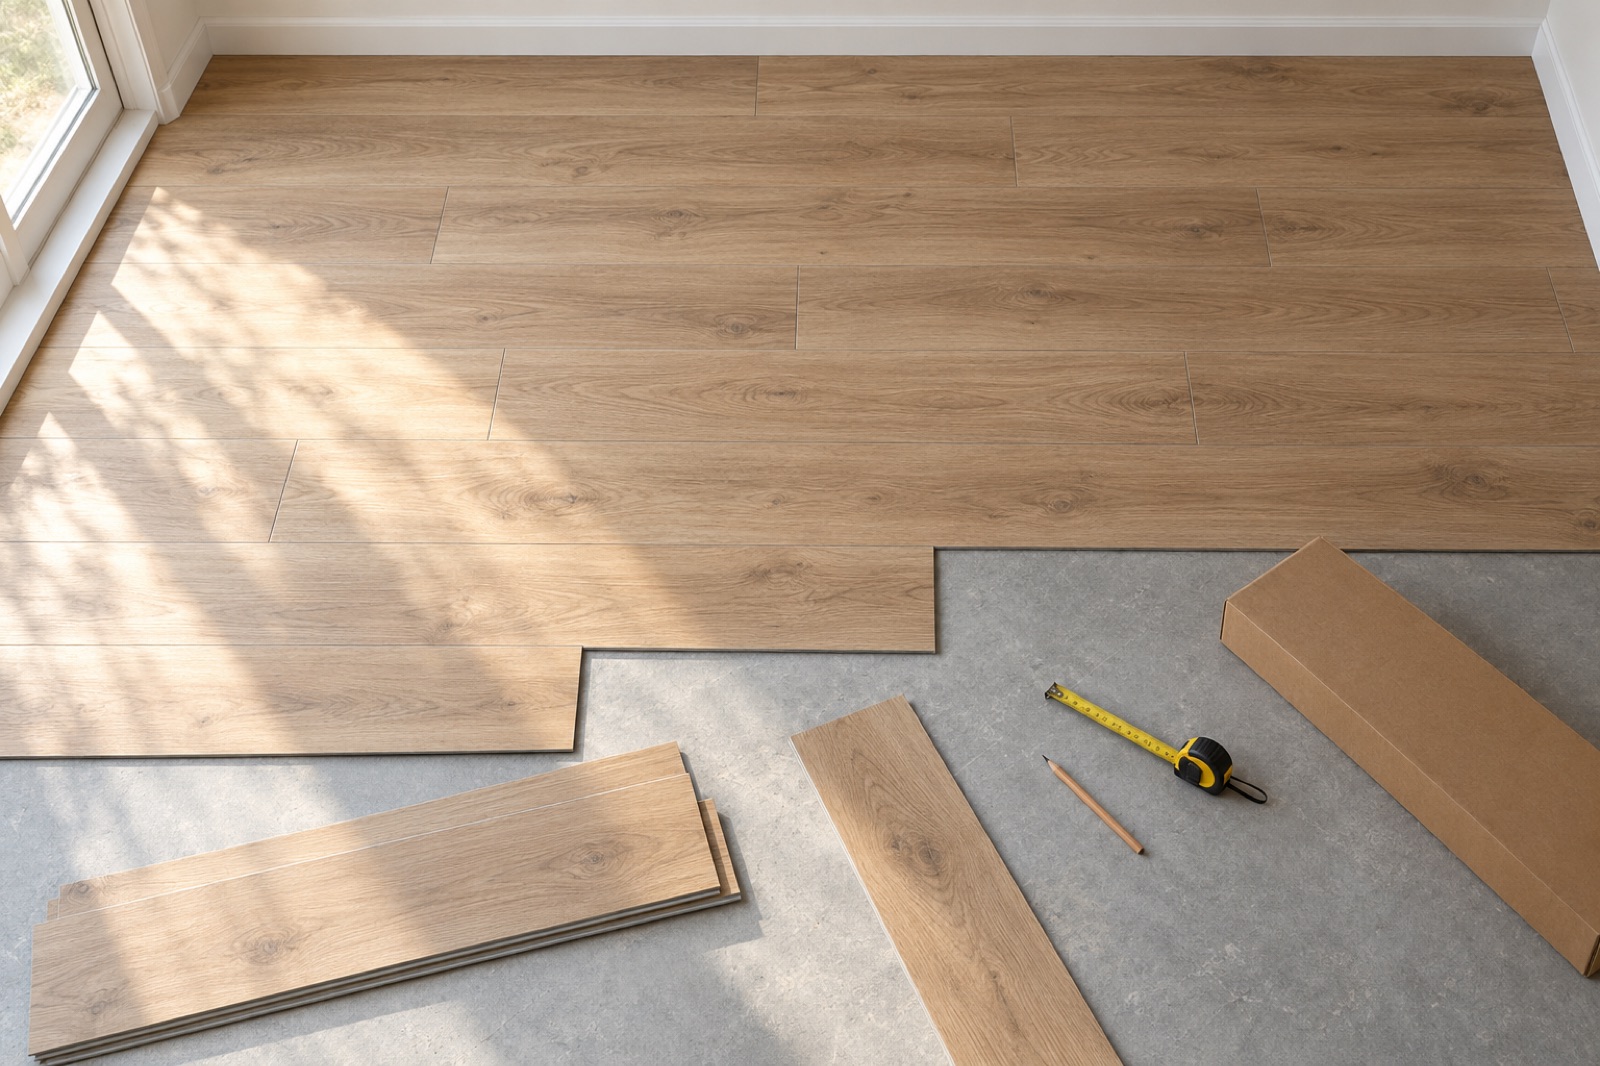
Plank flooring calculator: the short answer
Multiply the room's square footage by (1 + waste %), divide by the square feet in one carton, and round up to whole cartons. For a 12 × 14 ft room: 168 sq ft × 1.10 = 184.8 sq ft, and 184.8 ÷ 20 sq ft per carton = 9.24, so buy 10 cartons. This is an estimate. The carton label and the manufacturer's install guide govern.
If you only need the carton math, the flooring box calculator does that step quickly. The rest of this guide covers what a flat percentage hides: plank-level cuts, stagger, layout choice and the rounding that decides your final order.
The formula in one line
Cartons = round up (area × (1 + waste) ÷ sq ft per carton)
You buy cartons, not planks and not square feet. So the last step, rounding up, matters as much as the waste percentage. Later examples show it can add more "free" overage than the waste you chose.
Typical waste by layout
These are commonly quoted ranges from retailers and installers. Sources vary, and some manufacturers publish their own number, so confirm before you order.
| Layout | Typical waste added |
|---|---|
| Straight lay, simple rectangle | 7 to 10% |
| Random stagger, several cuts and doorways | 10 to 12% |
| Diagonal | 12 to 15% |
| Herringbone | 15 to 20% |
Beginners should treat the low end as for experienced installers in plain rooms. Closets, angles, pillars and first-time installs push toward the high end.
What you need before you calculate
Gather these first. Guessing any of them is where most wrong orders start.
- Room area. Measure each wall. Split irregular rooms into rectangles.
- Subtract areas that stay uncovered, such as a raised hearth or built-in cabinets that sit on the subfloor (check whether the floor runs under them).
- Add closets, alcoves and the footprint under doorways where flooring continues.
- Plank size. Width × length in inches.
- From the carton label: square feet per carton and planks per carton.
- The manufacturer's stagger, gap and minimum piece rules.
Square feet per plank is width × length in inches ÷ 144. Cartons vary a lot, but roughly 18 to 30 sq ft is common, so always use the label number.
| Plank size | Sq ft per plank | If 10 planks per carton |
|---|---|---|
| 6 × 36 in | 1.50 | 15.0 sq ft |
| 7 × 48 in | 2.33 | 23.3 sq ft |
| 9 × 60 in | 3.75 | 37.5 sq ft |
Expansion gap
Floating LVP and laminate need a gap at walls, commonly 1/4 to 1/2 in, but follow your product's instructions. It barely changes the order. A 3/8 in gap on each side of a 12 × 14 ft room trims the covered area by about 1%, which disappears inside your waste allowance.
It does matter for last-row width. Row layout should use the width you can actually cover (wall to wall minus the gaps), as the next example shows.
Worked example 1: LVP in a 12 × 14 ft bedroom (straight lay)
Setup: 7 × 48 in planks, 10 planks per carton, 23.3 sq ft per carton, straight lay with 10% waste, planks running along the 14 ft wall.
Steps 1 to 4: area, waste, divide, round up
- Area: 12 × 14 = 168 sq ft.
- Add 10% waste: 168 × 1.10 = 184.8 sq ft.
- Divide by carton coverage: 184.8 ÷ 23.3 = 7.93 cartons.
- Round up: 8 cartons (186.4 sq ft, 80 planks).
Effective overage is 186.4 − 168 = 18.4 sq ft, or about 11%. With 20 sq ft cartons instead, the same room needs 10 cartons (200 sq ft), which is 32 sq ft or about 19% over. Same room, same waste setting, very different leftover, purely from carton size.
Plank-level check: rows and last-row width
The room is 12 ft = 144 in wide, minus 3/8 in gap per wall = 143.25 in of usable width.
- 143.25 ÷ 7 = 20.46 rows, which is 20 full rows plus a 3.25 in strip (less than half a plank, so a poor last row).
- Fix: use 21 rows and rip the first and last rows equally. 143.25 − (19 × 7) = 10.25 in, split in two = about 5.1 in at each wall.
Length check: 14 ft = 168 in = 3.5 planks per row. 21 rows × 3.5 = 73.5 planks if every offcut were reused perfectly. The next section shows stagger costs a few more, which is how you land near the 80 planks (184.8 ÷ 2.33 = 79.2) the 10% allowance gives you.
What the leftover planks are for
Ordering 80 planks against a minimum of about 74 leaves at least six spares. Keep them in the box, flat and dry, for repairs. A replacement plank from a different production run can look different, which is why leftovers from the same lot are worth more than a later reorder (see the flooring dye lot guide).
Worked example 2: how stagger and offcuts drive waste
The stagger rule
Stagger is the minimum distance between end joints in neighboring rows. Commonly cited minimums are around 6 in, though some manufacturers specify 8 in, 12 in or a fraction of plank length. Use the manufacturer's number. It is often tied to warranty terms.
Avoid a 50% centered offset (every other row shifted exactly half a plank). It tends to show an H-pattern or ladder look and some brands prohibit it.
The "rule of 3"
"Rule of 3" is not one standardized rule. It is most often described as keeping end joints from lining up or repeating within any three consecutive rows. Other sources use a small minimum offset in inches. Treat it as installer shorthand and follow the product's written instructions.
Offcut reuse
An offcut can start the next row only if it is long enough to meet the minimum piece length and stagger, and the factory end faces the right way for the locking system. Otherwise it becomes scrap, a repair spare, or a filler for a closet.
Walkthrough: 14 ft rows, 48 in planks, 8 in minimum stagger
Each row is 168 in. Rules for this example: adjacent-row end joints at least 8 in apart, and no end piece shorter than 12 in. Pieces are listed left to right.
| Row | Pieces (in) | Planks pulled from carton | New offcuts (in) | Reused? |
|---|---|---|---|---|
| 1 | 48, 48, 48, 24 | 4 | 24 | Yes, starts row 2 |
| 2 | 24, 48, 48, 48 | 3 | none | n/a |
| 3 | 40, 48, 48, 32 | 4 | 8 and 16 | No (8 is scrap, 16 is too short to start a row) |
| 4 | 32, 48, 48, 40 | 4 | 16 and 8 | No |
| 5 | 48, 48, 48, 24 | 4 | 24 | Yes, starts row 6 |
| 6 | 24, 48, 48, 48 | 3 | none | n/a |
Check the stagger: row 1 joints sit at 48, 96, 144 in and row 2 at 24, 72, 120 (24 in apart). Row 3 joints are at 40, 88, 136 (16 in from row 2), and row 4 at 32, 80, 128 (8 in from row 3, exactly the minimum). In any three consecutive rows, joints stay at least 8 in apart.
The result: 22 planks pulled for 6 rows that need 6 × 3.5 = 21 planks of material. One plank's worth of scrap is 1 of 22, or about 4.8%, from end cuts alone. Ripped starter and finish rows, defective planks and miscuts come on top, which is how a 7 to 10% allowance gets used.
Note why only certain offcuts work here. A 168 in row with 48 in planks means starter plus end piece must total 72 in (with two full planks between). A starter under 24 in forces an end piece longer than a plank, so a 16 in offcut can't start a row in this room. Row length matters as much as plank length.
Worked example 3: laminate in an L-shaped room with a diagonal option
Setup: 22 sq ft cartons. The room is a 14 × 16 ft main area plus an 8 × 10 ft alcove, with a 4 × 8 ft raised hearth you won't floor.
Split into rectangles, subtract the hearth
- Main area: 14 × 16 = 224 sq ft
- Alcove: 8 × 10 = 80 sq ft
- Hearth: 4 × 8 = 32 sq ft (subtract)
- Net area: 224 + 80 − 32 = 272 sq ft
Straight lay vs diagonal
| Layout | Waste | Sq ft needed | Cartons (22 sq ft) | Sq ft bought | Effective overage |
|---|---|---|---|---|---|
| Straight | 10% | 299.2 | 13.6 → 14 | 308 | 36 sq ft (13.2%) |
| Diagonal | 15% | 312.8 | 14.2 → 15 | 330 | 58 sq ft (21.3%) |
Diagonal costs just one extra carton here, even though the waste setting rose five points. Rounding absorbed part of the difference. In another room or carton size the gap could be two or three cartons, so run both numbers.
Doorways, closets and adding 3 to 5% more
Fourteen cartons actually cover up to about 13.2% waste (308 ÷ 272). Adding 3 points to the straight-lay number (13%: 272 × 1.13 = 307.4 sq ft) still means 14 cartons. At 14% (310.1 sq ft) it jumps to 15. That is a useful check: if your extra allowance doesn't cross a carton boundary, it costs nothing.
Add 3 to 5% for rooms with several doorways, closets, angles or pillars, since each cut creates offcuts that don't fit elsewhere.
LVP, laminate and wood
LVP and laminate behave similarly in this math because planks are uniform. Laminate and click-lock products can be stricter about end-joint stagger and cutting edges. Engineered and solid hardwood often need extra for culling boards with defects and random lengths, so those percentages often run higher. Always follow the product's guide.
How to lay out planks before you order
- Measure and sketch. Record every wall, alcove and obstruction.
- Pick the direction. Common choices are along the longest wall or toward the main light source. Check the manufacturer's note on subfloor direction.
- Count rows. Divide usable width by plank width (as in example 1).
- Balance first and last rows. Rip both to equal widths instead of leaving one thin strip.
- Dry-lay two or three rows with planks from different cartons to confirm stagger and see the color mix.
- Check doorways so the row lines up cleanly through them, and plan transitions.
- Recalculate with the layout and waste % you chose, then round to cartons.
Avoiding slivers
A commonly cited guide is that the narrowest row should not be thinner than about 2 in, or less than half a plank width. Many installers aim higher. If your math leaves a thin row, either rebalance (as in example 1) or shift the start line.
Batch numbers, acclimation and spares
Order everything at once so cartons share a lot or batch number, and check the numbers when they arrive. Many manufacturers ask for a period of acclimation before install, from none for some LVP to a day or two for others, so follow yours. Keep a spare carton or at least several planks for future repairs. Underlayment (if the plank doesn't have an attached pad) and transitions, reducers and stair noses are separate add-on items, counted by roll area and by piece or linear foot.
Quick reference: cartons by room size and layout
Each value is rounded up. Compare the 10% column (straight lay) with the 15% column (diagonal).
| Room | Net sq ft | 10% waste, 20 sq ft cartons | 10% waste, 24 sq ft cartons | 15% waste, 20 sq ft cartons | 15% waste, 24 sq ft cartons |
|---|---|---|---|---|---|
| 10 × 10 | 100 | 5.5 → 6 | 4.58 → 5 | 5.75 → 6 | 4.79 → 5 |
| 12 × 12 | 144 | 7.92 → 8 | 6.6 → 7 | 8.28 → 9 | 6.9 → 7 |
| 12 × 16 | 192 | 10.56 → 11 | 8.8 → 9 | 11.04 → 12 | 9.2 → 10 |
| 15 × 20 | 300 | 16.5 → 17 | 13.75 → 14 | 17.25 → 18 | 14.4 → 15 |
Notice the 10 × 10 room: moving from 10% to 15% waste changes nothing, because the rounding already covers it.
Selling plank flooring on Shopify: why workarounds produce wrong orders
Everything above is what your customer has to do before checkout. If you sell flooring online, the question is whether your store does it for them.
Why variants and quote forms fail
- A price-per-variant setup forces you to guess room sizes. A variant for "up to 150 sq ft" can't fit a 168 sq ft room without a human fix.
- A shopper who types square feet into the quantity box may buy 168 cartons, or they divide by hand, forget waste, and order 8 when they need 10.
- Quote forms put the math on a person. Replies take time, errors creep in, and the cart still doesn't enforce the quantity.
- The cost shows up later as manual fixes, short shipments and returns of opened cartons, which many sellers can't accept back.
What works
The shopper enters room dimensions. The store applies waste and carton coverage, rounds up to whole cartons, shows the estimated total and enforces that quantity in the cart. If they change the quantity later, coverage updates with it.
Shoperize Price Calculator does this by turning area, length, volume or weight into purchasable Shopify quantities. You configure unit conversion, waste, package coverage, rounding, limits and product assignments, and the measurements stay in the cart. Charges come from your Shopify catalog price (for example, price per carton), not a custom line price. The Free plan supports one published area calculator on up to three products, and advanced capabilities depend on the plan. For setup with box examples, see how to sell by square foot on Shopify, and for the room-to-boxes flow, the Shopify flooring calculator page.
Manual calculators vs a store calculator
A manual guide like this one handles plank-level reasoning: ripped rows, offcut reuse, stagger. A store calculator applies a waste percentage you choose, so decide it per product (for example, a higher allowance for herringbone). Neither replaces the install guide.
What to put on the product page
- Square feet per carton and planks per carton
- Plank width and length
- A line saying products are sold by the carton, with a lot or batch note
- The waste assumption your calculator uses
To test any calculator before you publish, use the 7-point flooring calculator test checklist.
If you sell flooring, tile or other products by area or package, you can install Shoperize Price Calculator from the Shopify App Store (details at calculator.shoperize.com), and get setup help at help.shoperize.com.
Frequently Asked Questions
How do I calculate how much vinyl plank flooring I need?
Multiply room length by width, add your waste percentage (often 7 to 10% for a straight lay), divide by the square feet per carton on the label, and round up. A 12 × 14 ft room with 10% waste is 184.8 sq ft, which is 10 cartons of 20 sq ft. Treat the result as an estimate.
How far should you stagger vinyl plank flooring?
Many guides cite about 6 in minimum between end joints in neighboring rows, while some manufacturers require 8 in, 12 in or a fraction of plank length. Use the number in your product's install guide, since it can affect the warranty. Avoid a 50% centered offset, which can show an H-pattern.
What is the rule of 3 in flooring?
There is no single standard definition. It is most often described as keeping end joints from lining up or repeating within any three consecutive rows. Some sources use it as a small minimum offset in inches. Follow the manufacturer's written stagger rule rather than the shorthand.
How to layout flooring planks?
Measure the room, choose a direction (often along the longest wall or toward the main light), and divide the usable width by plank width to count rows. Rip the first and last rows to equal widths to avoid slivers, dry-lay two or three rows to check stagger, then recalculate cartons.
Is 10% waste enough?
For a simple rectangle with straight lay, 10% is a common allowance. Diagonal layouts, herringbone, several doorways, angles and first-time installs often need more. Also check what your rounded carton count actually gives you: whole cartons can leave you well above 10%, or just short of it.